Forms
With forms:
- External users have a simple way to create cards in your project. A Kantree account is not required to fill out a form. See the guide: Working with External Partners.
- You save time by automatically collecting information directly into your project.
- You can interact with form respondents directly from the created card.
Use cases: support ticketing, application management, questionnaire management, intervention requests from external partners, site visit management, and more.
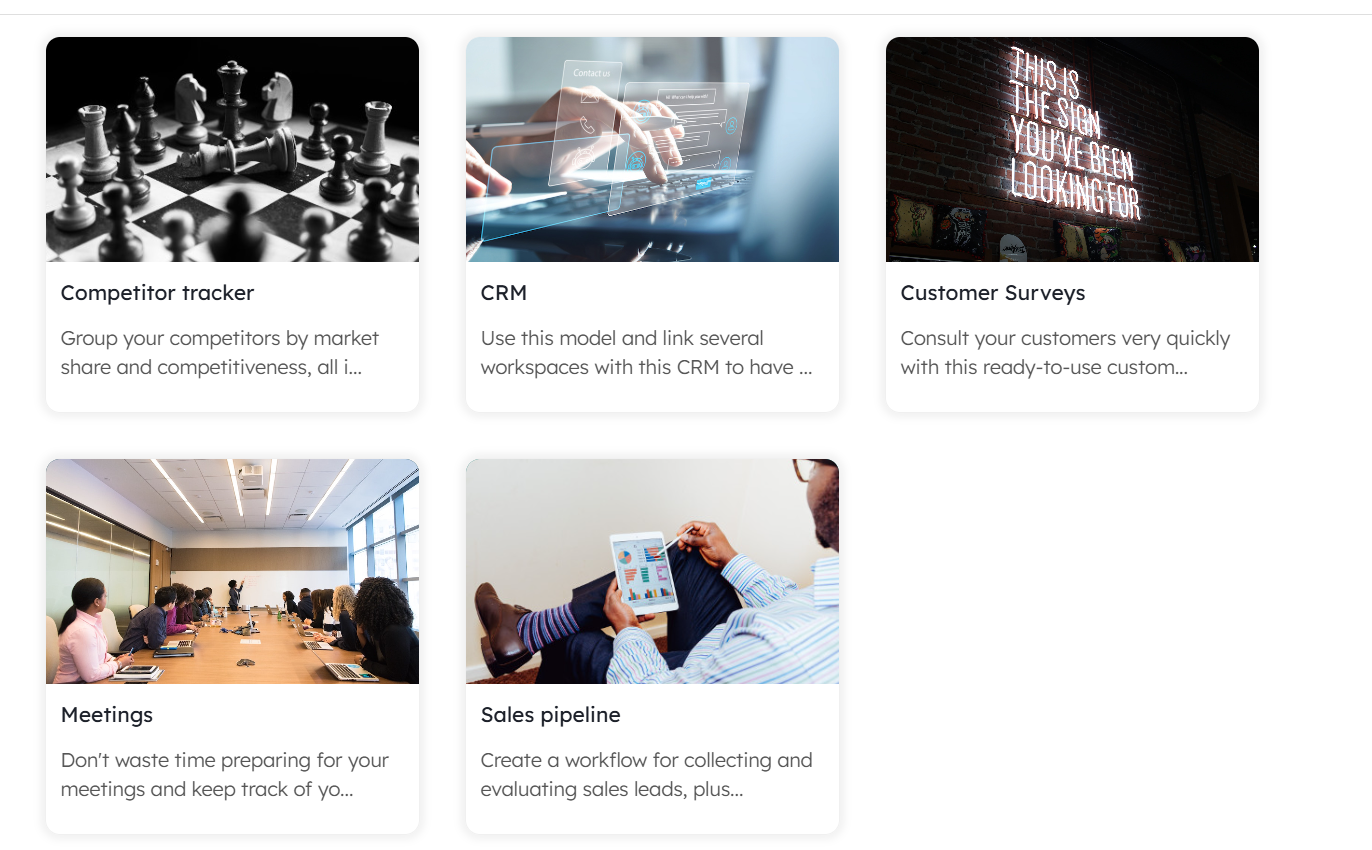
Example workspaces with forms available in the Kantree Template Library: Sales & Customers / Customer Surveys
Create a form
👉 Before creating your form, make sure you have already created all the fields and lists that you want to populate with form responses.
This will allow you to select them when configuring the form.
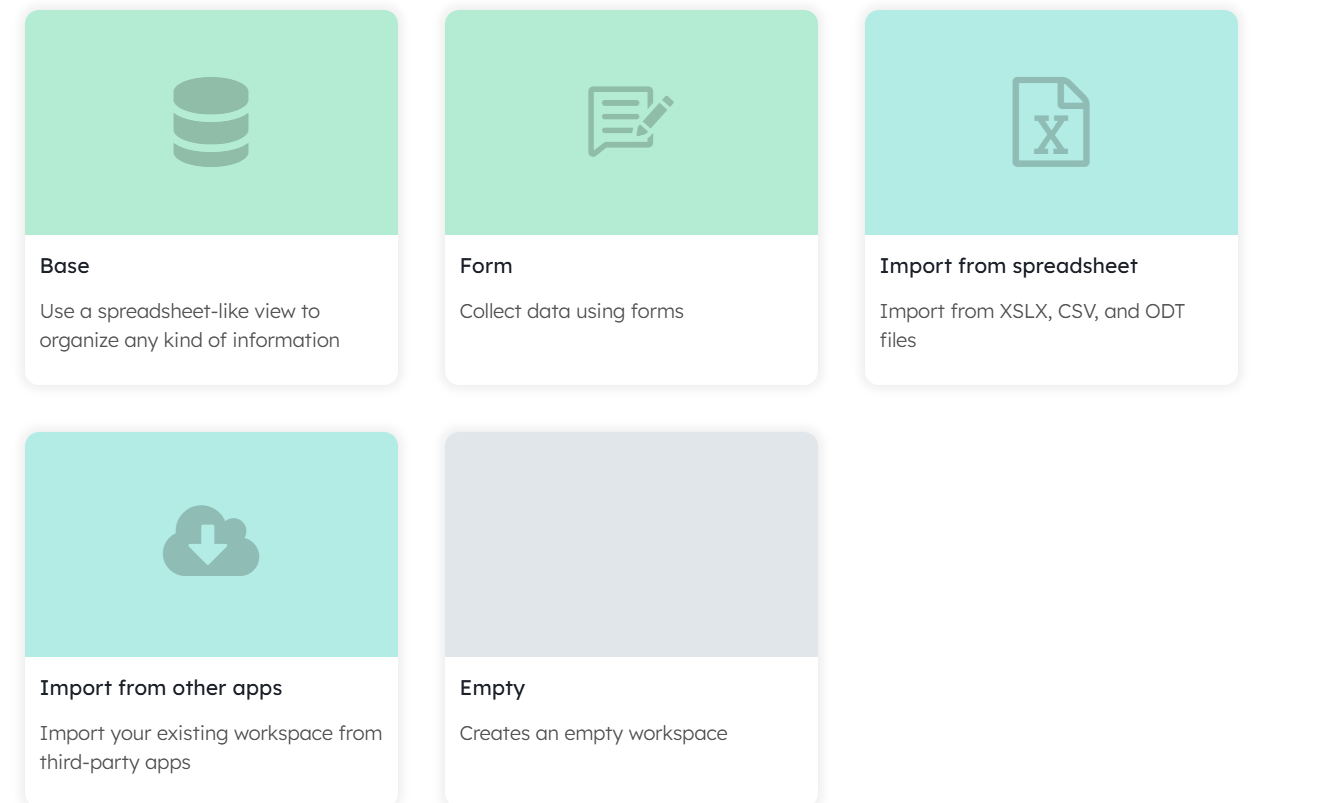
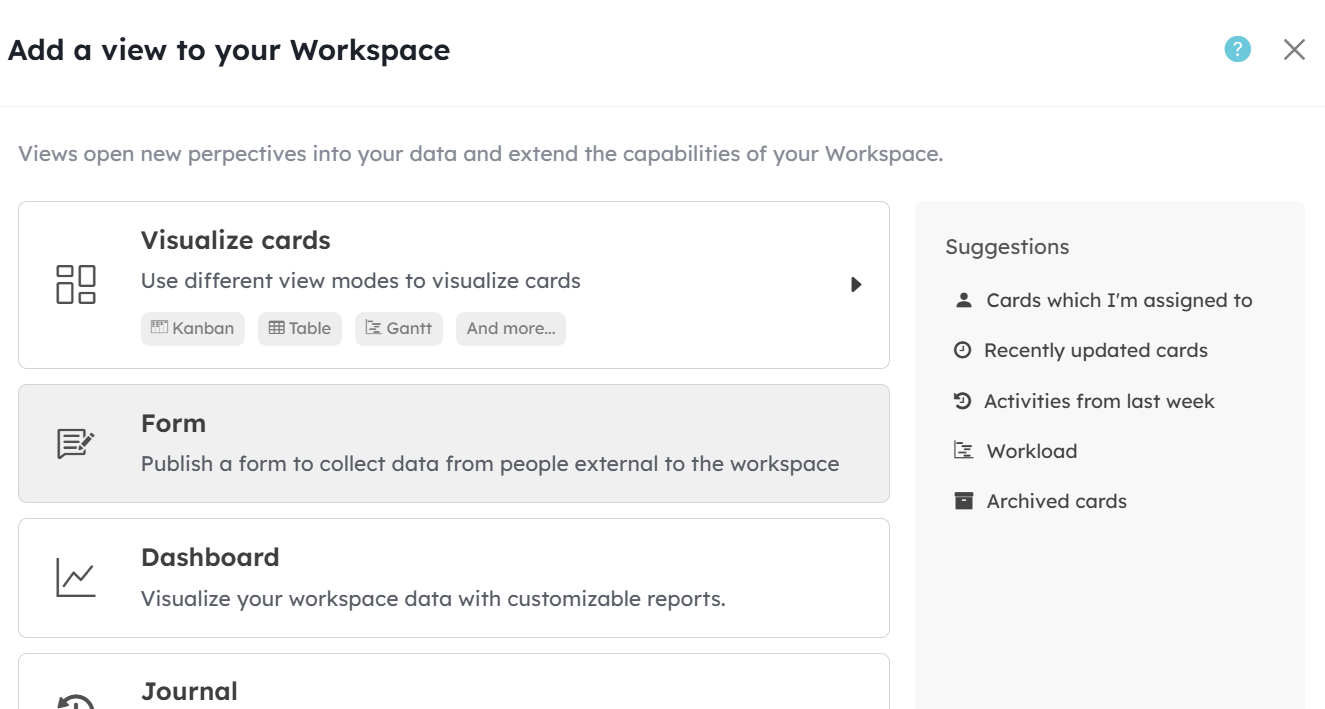
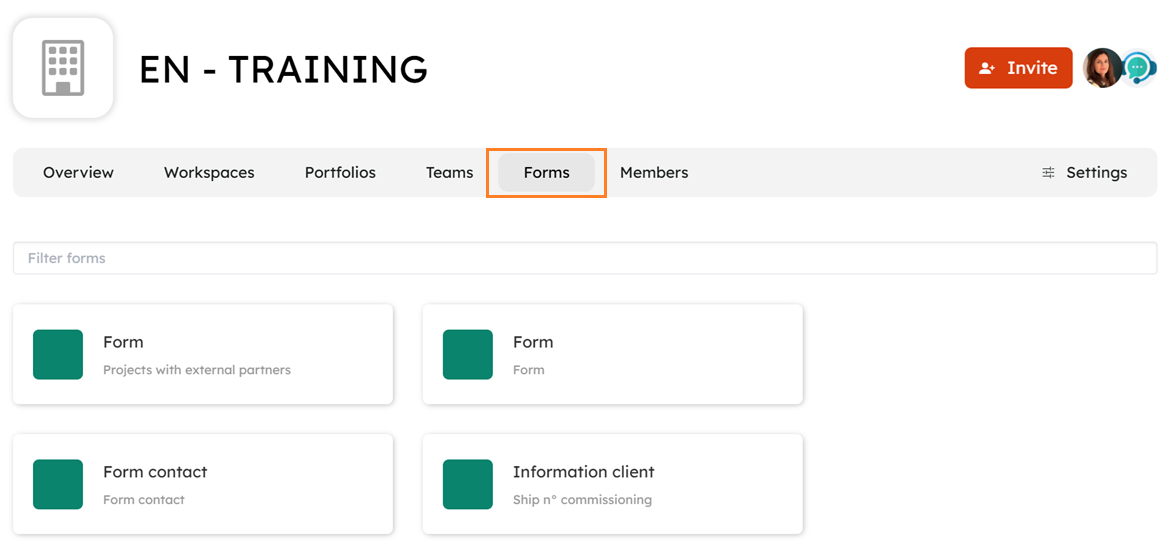
- Click Add View in either the public or private views section, then click Form.
-
Choose who can access your form link in Accessible by. By default, your form will be accessible from the Organization page. If you do not want this, disable List on organization hub.
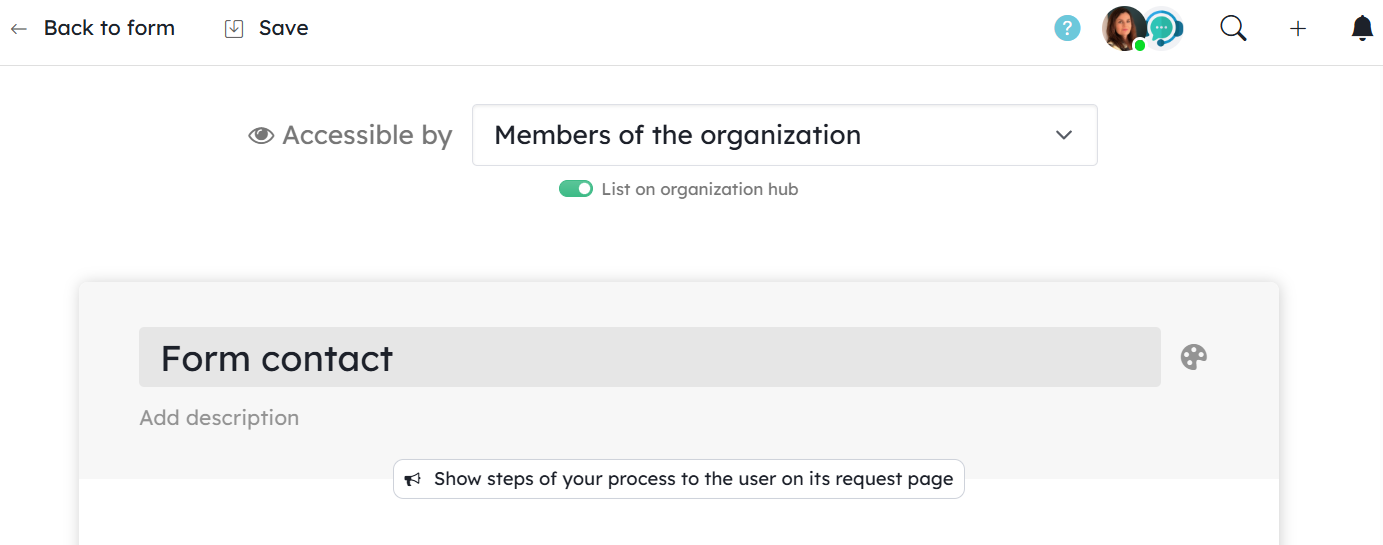
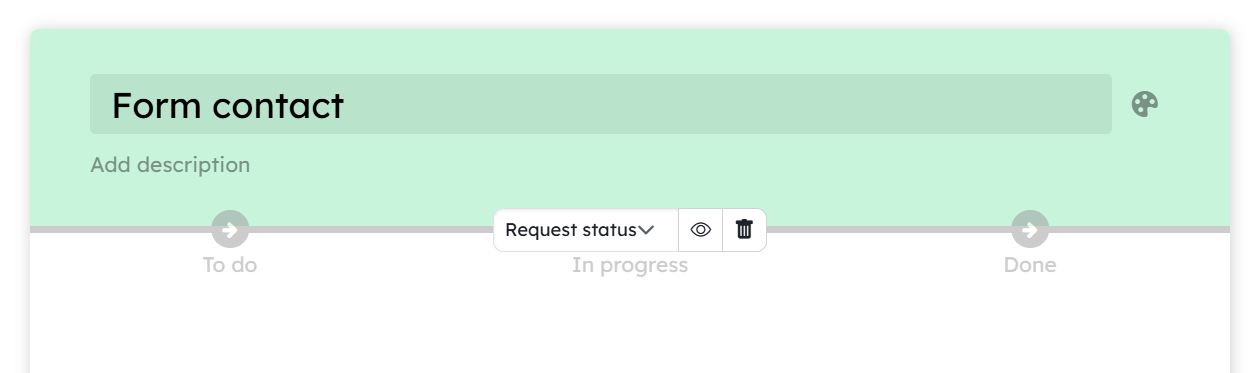
3.Enter a title and description for your form. The description will be displayed at the top of the form.)
4.Click Show steps of your process to the user on its request page if you want to share the progress stages
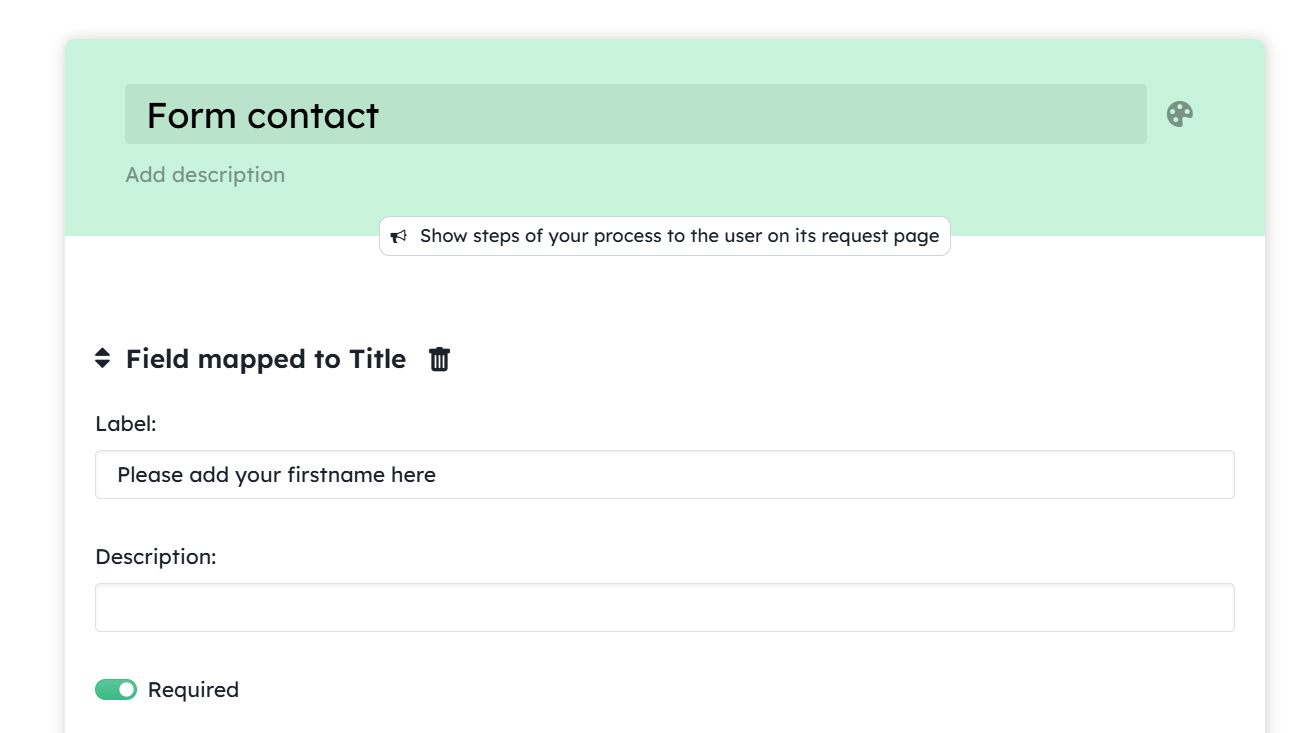
5.Add fields from your workspace.
The first section contains fields from your card. Select a field and specify in Label what should be displayed on the form. Enable Required if the field must be completed.
If you use card types, fields associated with those card types will not appear in the list of available fields.
To make them available, enable card creation based on a card type under Advanced options once the form is submitted.
The second section contains elements that you add to the form itself, such as headings or text blocks.
Dynamic fields allow you to capture information related to the respondent’s browsing context.
Fields can be reordered using drag and drop.
The Title field is the only field that is not linked to a card field. If it is added to the form, it defines the name of the card that will be created.
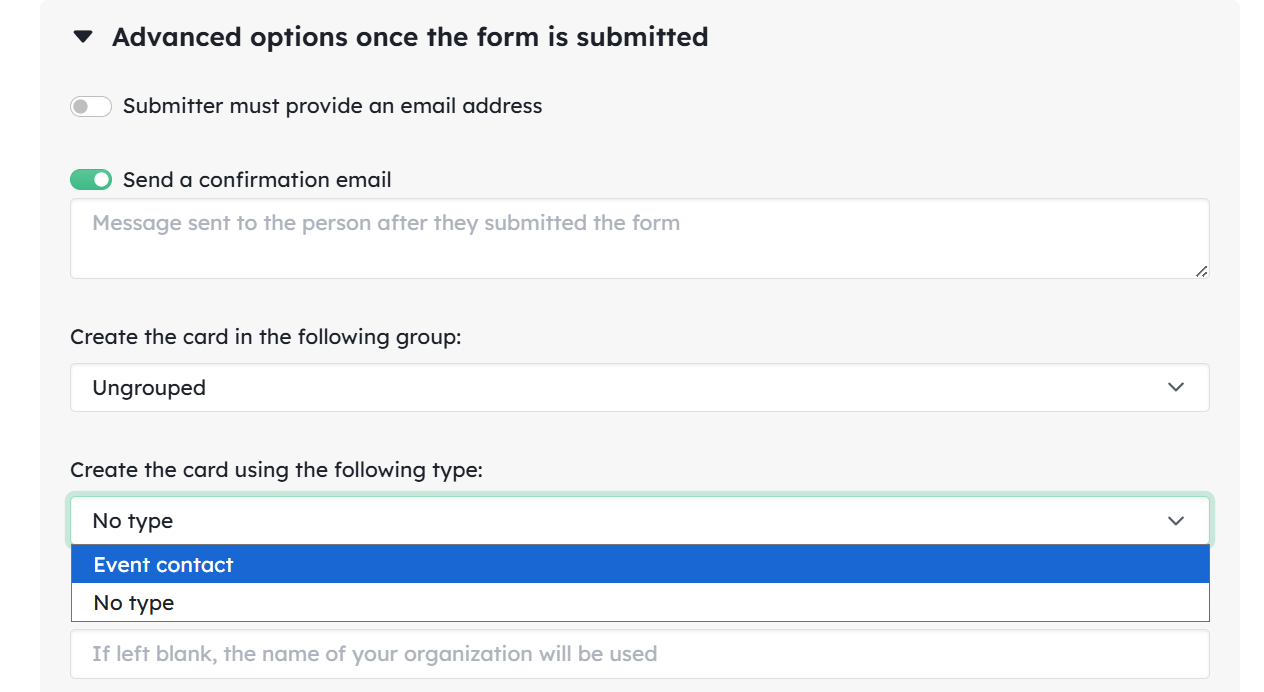
Advanced options after form submission:
- Submitter must provide an email address: automatically adds a required email field.
- Send a confirmation email: write the content of the automatic email sent after the form is submitted.
- Create the card in the following group: define where the created card will appear in your workspace (one destination group only).
- Create the card using the following card type: specify the card type to use when creating the card.
- Sender name in notification emails: specify the sender name. By default, the organization name is used.
- When the form is submitted anonymously, use the following field to store the email address (must be an email-type field).
- Allow receiving requests via email
Your project can be populated through the form link, but you can also allow request creation through the associated email address available in the Share tab.
When enabling this option, you must map at least one card field to information from the email: email subject, email body, or email attachments.
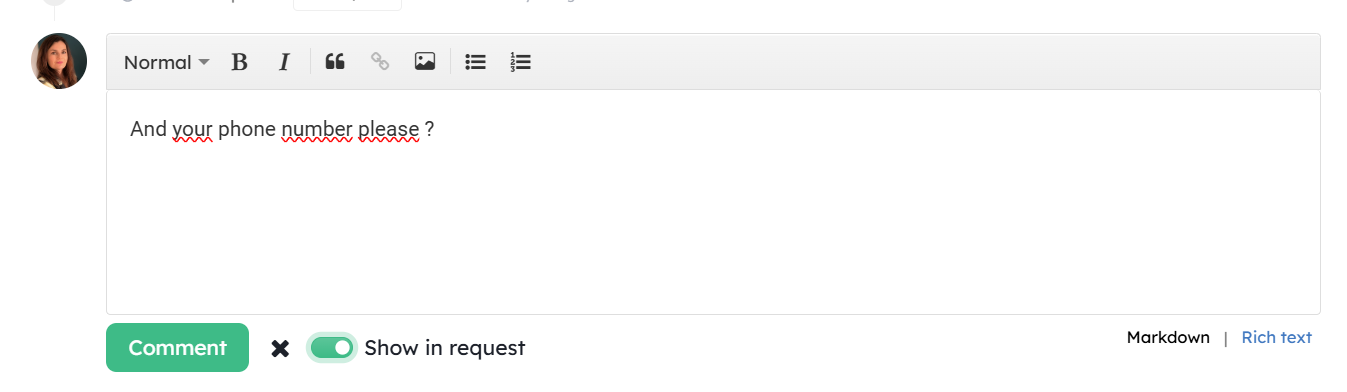
You can allow requesters to comment, enabling direct communication and recording of interactions. To do this, click Comment in the Activity section at the bottom of the card and enable Show in request (see the “Interact with the requester” section below).
If this option is not enabled, the comment will only be visible to workspace members. This allows you to communicate with the requester while also keeping internal discussions.
👉 Don’t forget to click Save to store your settings.
Submit a request
When someone submits a request, he receives this kind of email:
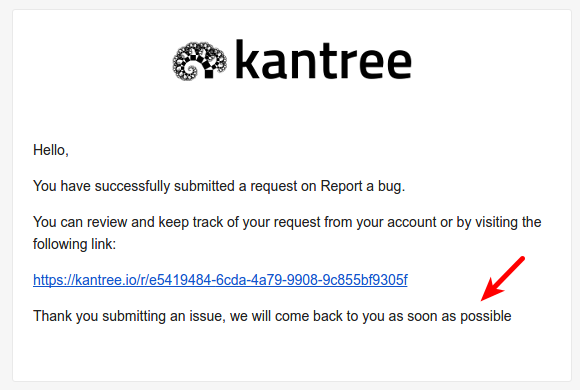
Pointed by the arrow is the custom message you have added in your form editor (see point 9 above).
The card is created in the specified group. It is tagged with a request icon.
If the requester doesn’t provide a title for the card (or if you didn’t add a title field in the form), the title is Request from and the name of the requester. If the form is public, the requester can be anonymous.
In the header of the card, you will find a link to the request (useful if the requester looses it and wants it back).

The area indicated by the arrow contains the custom message you added to the form (option: confirmation email).
The card is created in the specified group (option: create the card in the following group).
It is marked with a request icon.
If the requester does not provide a title (or if the Title field is not included), the card title will be Request from followed by the requester’s name. If the form is public, the requester may be anonymous.
In the card header, you will find a link to the request page by clicking Open (useful if the requester loses the URL and needs to retrieve it).
You can create a request from a card that does not already have one by right-clicking the card, selecting Create Request, choosing a form, and entering the person’s email address.
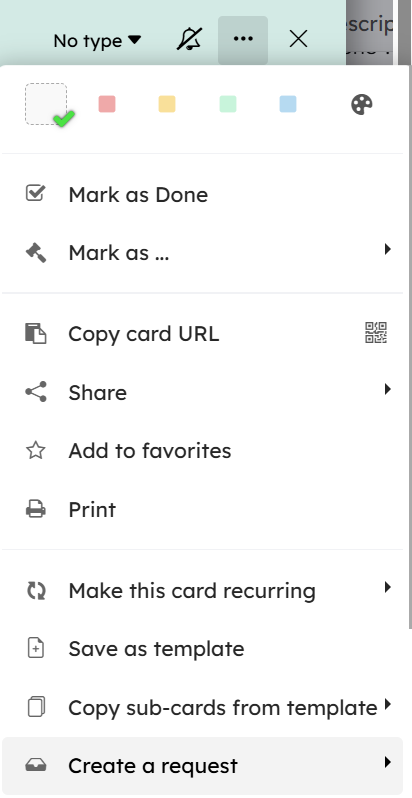
For cards that already have a request, you can remove it by right-clicking the card and selecting Delete associated request.
Interact with submitters
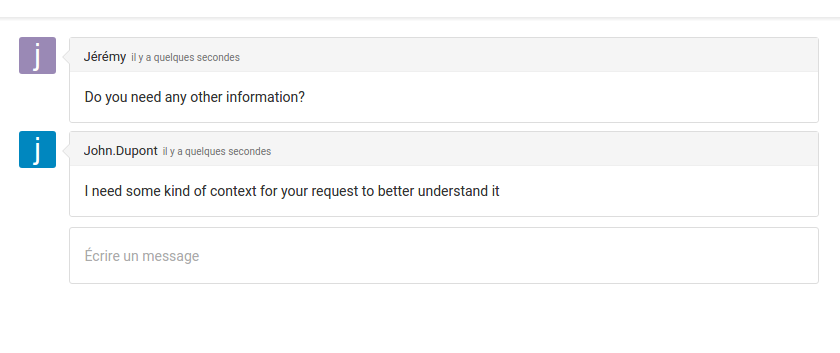
You can interact with the requester through comments on the created card (provided you enabled Allow the requester to post comments after submitting their request in the form editor). Comments are located in the Activity tab at the bottom of the card.
You can interact with the requester through comments on the created card (provided you enabled Allow the requester to post comments after submitting their request in the form editor). Comments are located in the Activity tab at the bottom of the card.
Post a comment on the card created from the request and enable the Show in request option.
When Show in request is disabled, you can have private internal discussions about the card without notifying the requester.
Requesters do not receive notifications (in-app or by email) when you modify card values or move the card to another group.

If you edit a comment that has already been posted, the requester will not be notified of the change. Only do this to correct spelling mistakes, not to add new information, otherwise the requester may not see your updates.
Requesters can only add images to their comments via a URL, even if the form includes a file field.
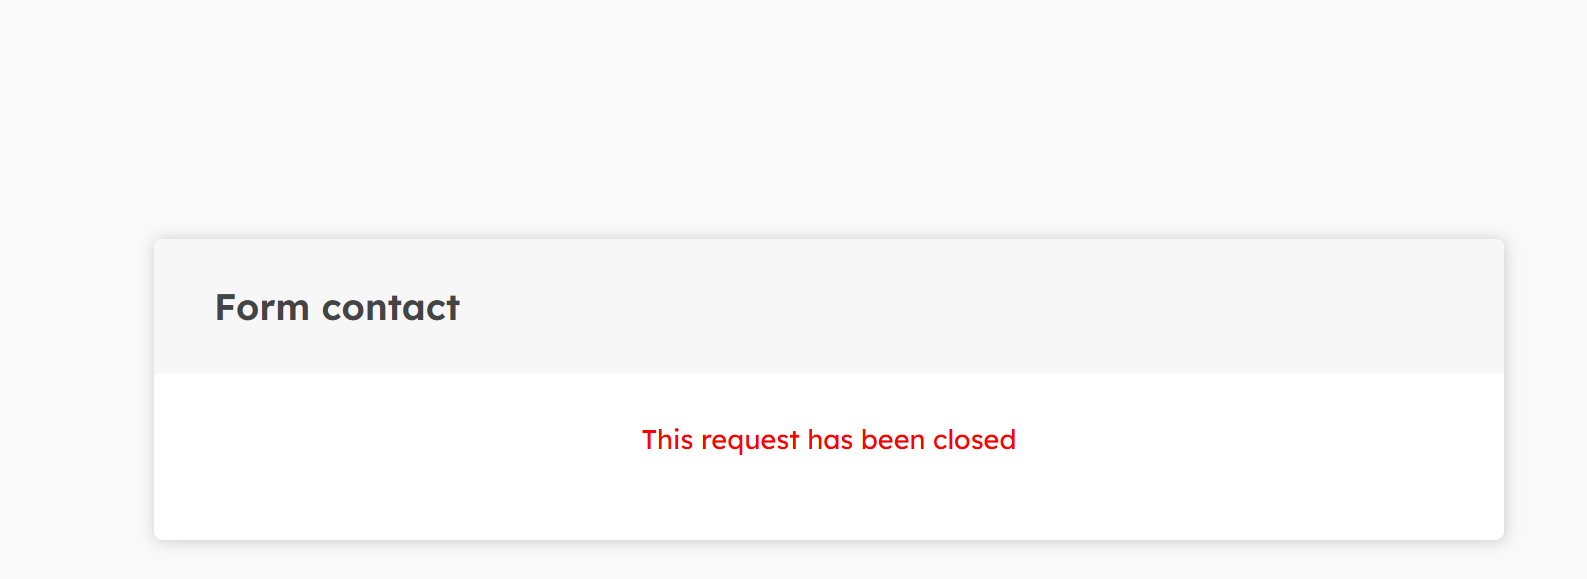
Close a request
When you archive or delete a card created from a request, the request is automatically closed.
This is the only way to close a request.
It is the only way to close a request.
Edit a form
You can edit your form anytime using the small pencil button.
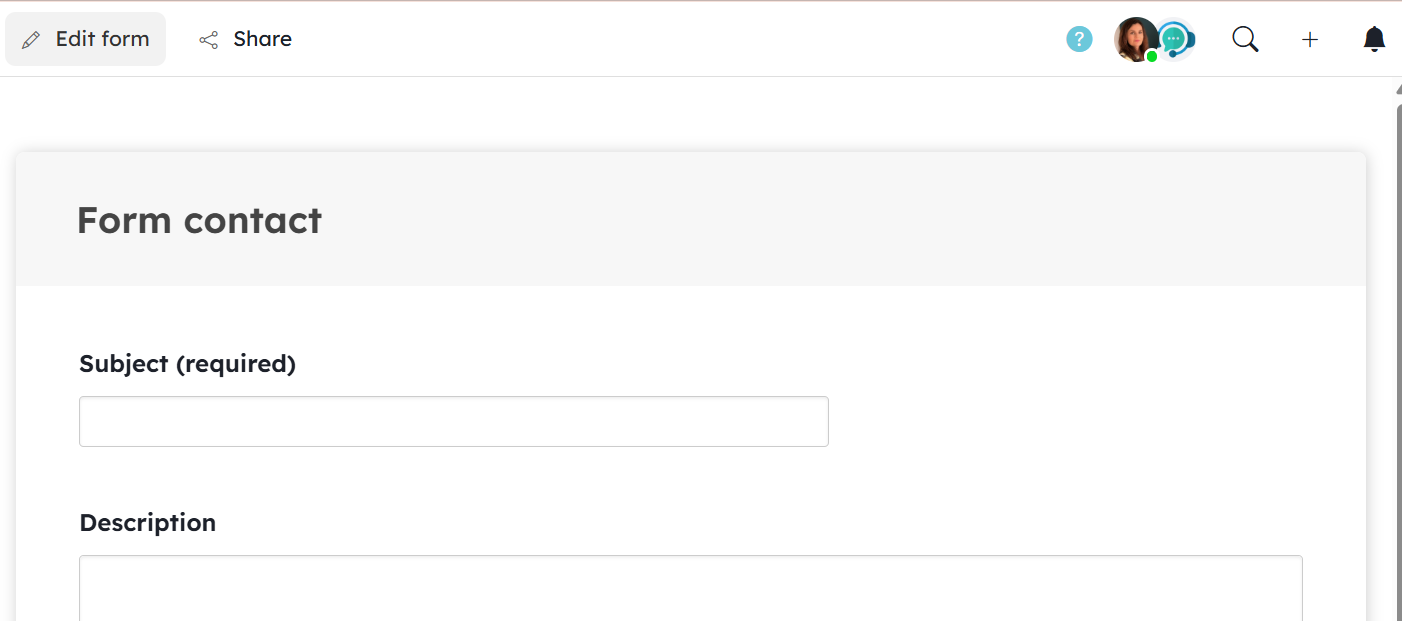
All requesters will see the changes on their request page, even if you add or remove fields from the form.
You can enable or disable the comment section in requests (option: Allow the requester to post comments after submitting their request). Existing comments will not be deleted; they will simply be hidden.
Share / Submit Requests by Email / Embed the Form
Once your form is saved, you can access the Share button, which contains:
- A URL
- An email address
- HTML embed code
You can therefore share or embed your form on your website, in emails, internal documents, and even create requests via email.
To display the email address associated with the form, you must first enable the Allow receiving requests by email option.

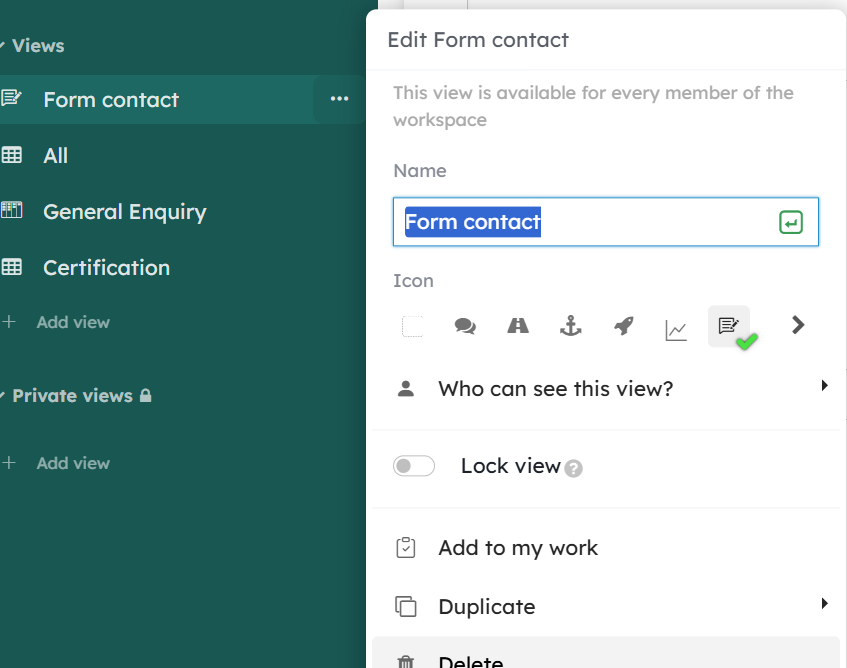
Delete a form
Delete a form by opening the Form View, clicking the … menu, and selecting Delete.
The form will no longer be accessible, and existing request pages will also become unavailable.
Cards created through requests submitted via this form will still exist, but they will lose the request icon and you will no longer be able to post comments using the Show in request option.