Kantree has been designed to be your core tool for managing your projects. Integrations help you connect Kantree with your other tools like Github or Slack.
There are 3 types of connection:
- login or sign up
- project/org integration (not available in personal projects)
- import from other tools
We will first cover each process in a generic way. They are very similar for every external tool integrations.
Then we will discuss the specificity of each 3rd party services.
Setup 3rd party login
You can login to Kantree with external service credentials.
Connect your external service with an existing Kantree account
- Navigate to User Account page > Third party Accounts tab
- Click on Login button of the wanted service
- Authorize Kantree to connect with your service account
On the Kantree login page, you can now use the login button dedicated to this service, you don’t need to enter your Kantree credentials.
Signup with your external service (without any Kantree account)
- Navigate to the Kantree Login page
- Click on the Login button of the wanted service
- Authorize Kantree to connect with your service account
- You are redirected to the Kantree Signup page, sometimes automatically filled with your service username (You don’t have to provide a password, as you will use your service account to connect)
- Fill the signup form with your email, and click Signup
Your Kantre account has been created. Always use the login button dedicated to this service to login with Kantree.
Setup project integrations with 3rd party services
- In a project, navigate to [Project settings](/help/guides/get-started#the-project-workspace) > Integrations tab
- Find your Service in the Available integrations list and click on Activate. If your service has already been activated in other projects of the same team, the button label will be Use on this project
- Some services will ask for specific permissions, you should allow them if you want the integration to run correctly. Usually, you only need to allow permissions once, for all projects where you want to enable your service.
- On the integration settings form, select the options you want. Usually, every options and settings will be explained clearly in this settings form.
- Click on Activate
Once activated, your integration appears in Integrations active on this project list. You can update (click on the cog button) or deactivate (click on the red trash button) your integration anytime.
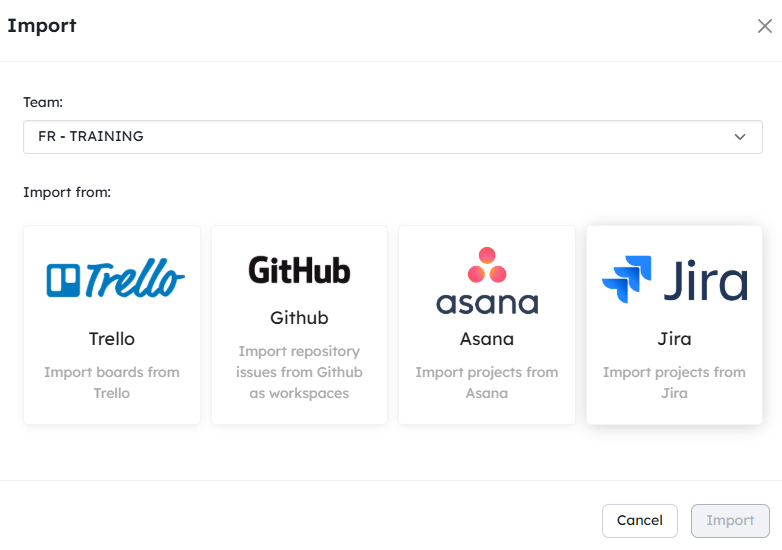
Import project from 3rd party services
- In your Dashboard or Org page > Projects tab, click on + New project
- Choose a name for your project
- Click on Import from other services
- Select the 3rd party service you want and click Next
- Authorize Kantree to connect with your service account. Usually, you won’t need to authorize Kantree for the next import.
- Select an external project you want to import in the list that just appeared
- Wait until the import is ready. It can take a few minutes if your external project contains a lot of datas.
Google and Gsuite
Login with your Google account
Follow the [step-by-step guide](/help/guides/integrations#setup-3rd-party-login) to login with Google.
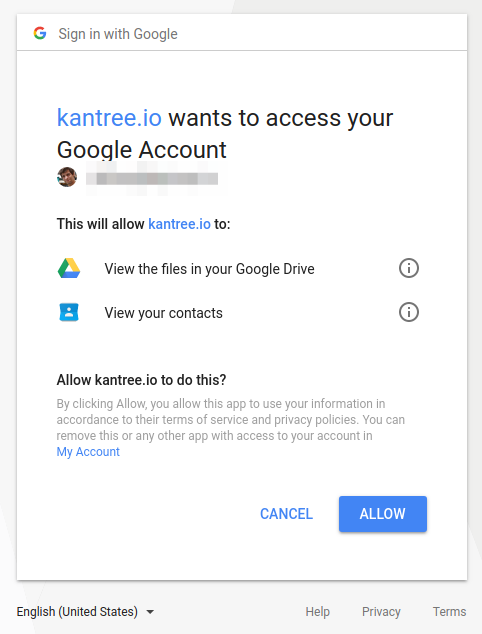
Once you’ve connected your accounts, you can attach files from Google Drive to your cards in any projects.

You can access all your Google contacts when you invite members to your team or projects.
Connect your Kantree team with you Google Suite team
Kantree is available on the Google Suite Marketplace, so you can open Kantree from Google apps.
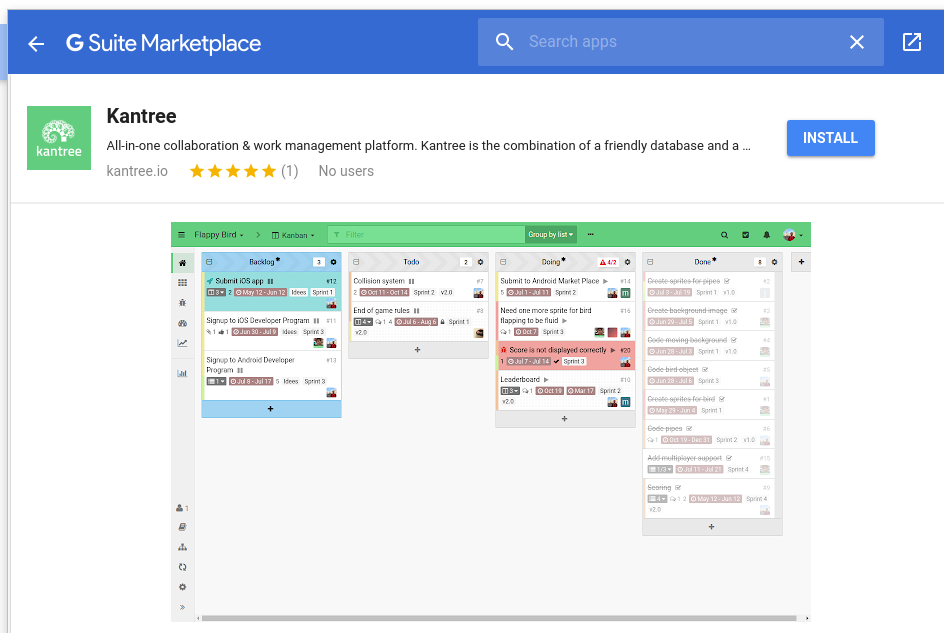
Then, in Kantree, you can link your Google Suite team with your Kantree team.
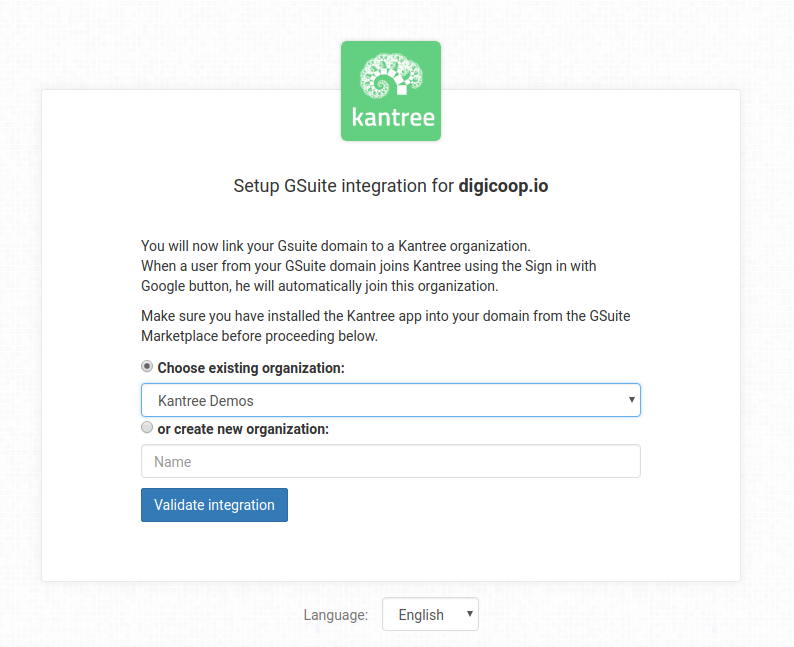
All your Google suite users will be able to login to Kantree with their Google account.
Microsoft Teams
Always concerned with saving you time and supporting you in your daily activity, Kantree offers you a new connector (reserved for Enterprise offers). Thanks to this you will be able to use all the features of Kantree from your Teams environment.
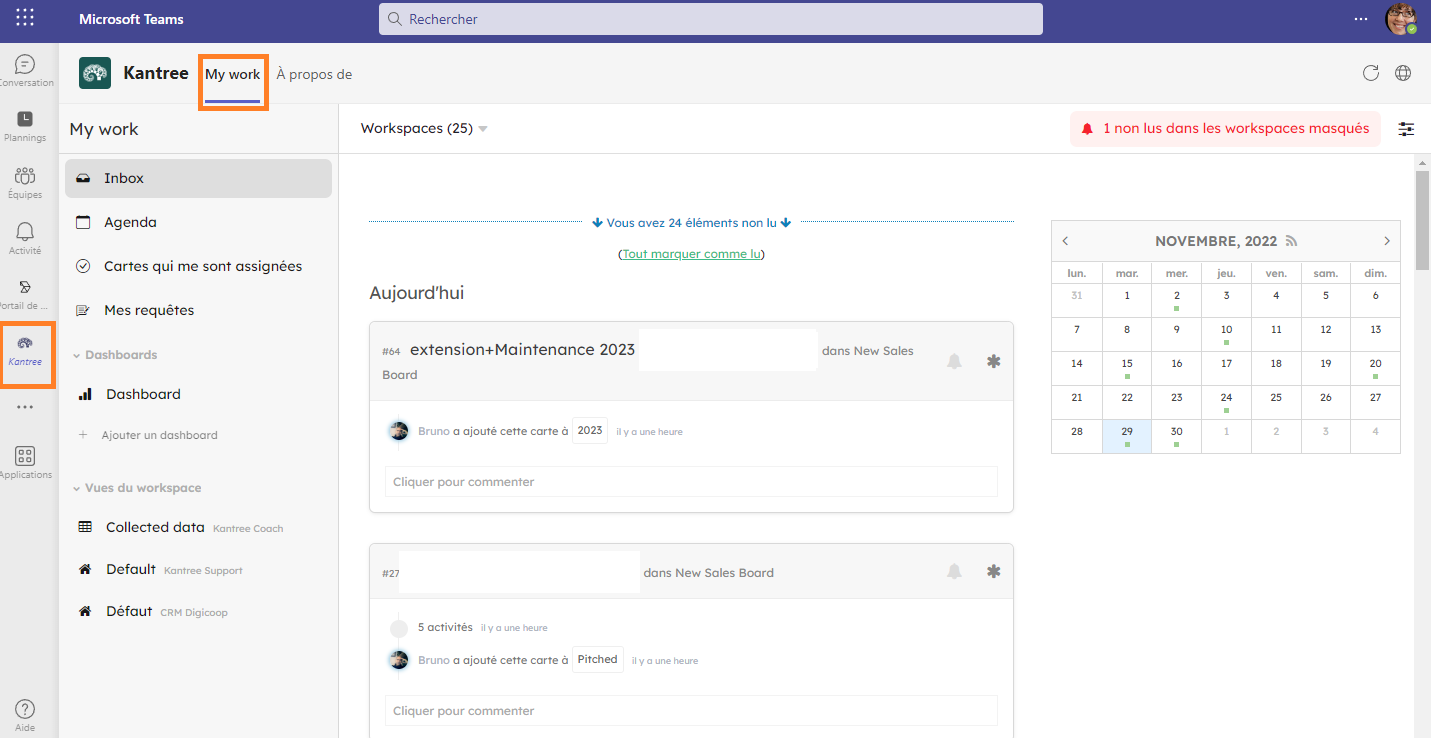
My Work
A Kantree tab is added to your sidebar to access your personal project hub “My work”.
Your workspaces
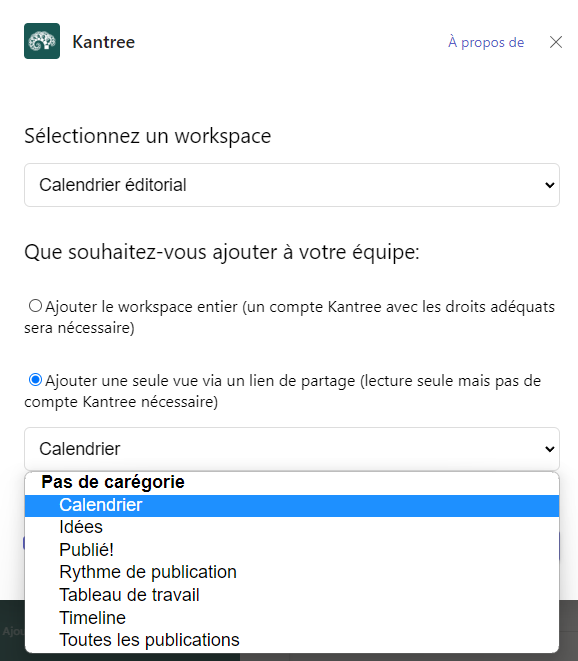
In Teams, you can add one tab per workspace or view.
How to add Kantree in Teams
Add My Work
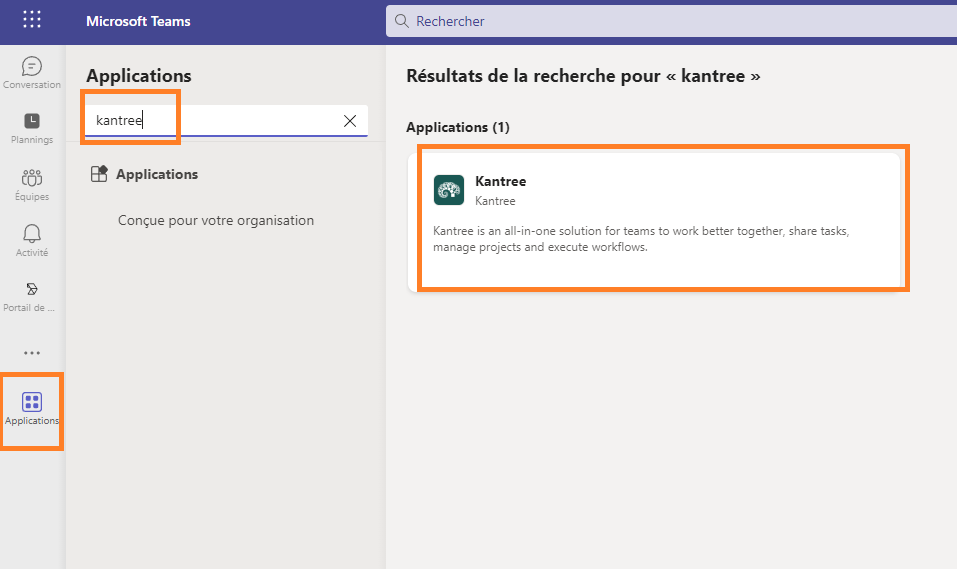
- Go to the Applications section of your Teams side menu
- Look for “Kantree”
- Click Open
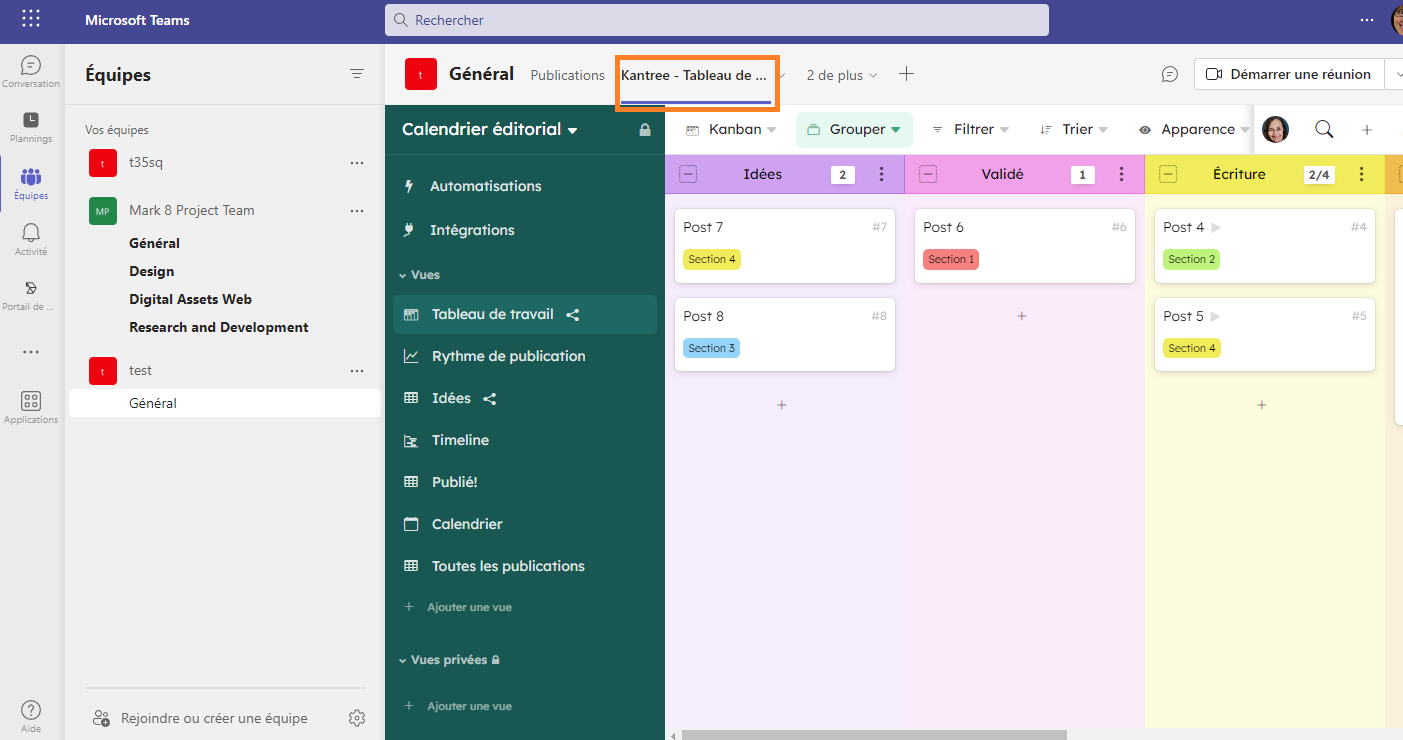
Add workspaces and views
- Go to the Teams section of your Teams side menu
- Select the team in which the workspace should be positioned
- Click on + Add Tab and select Kantree
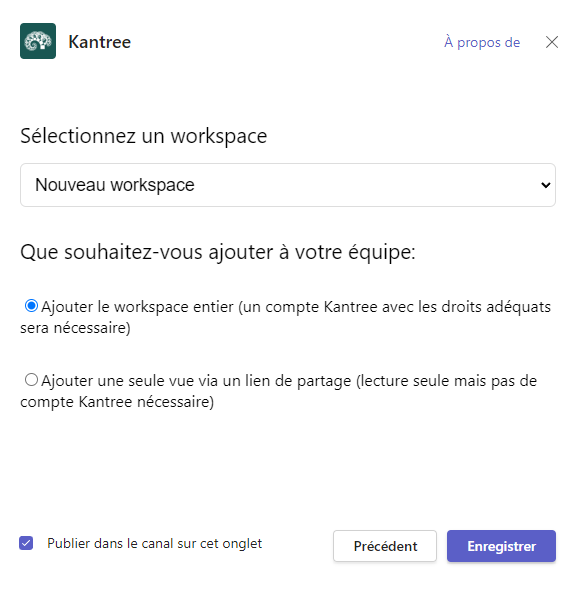
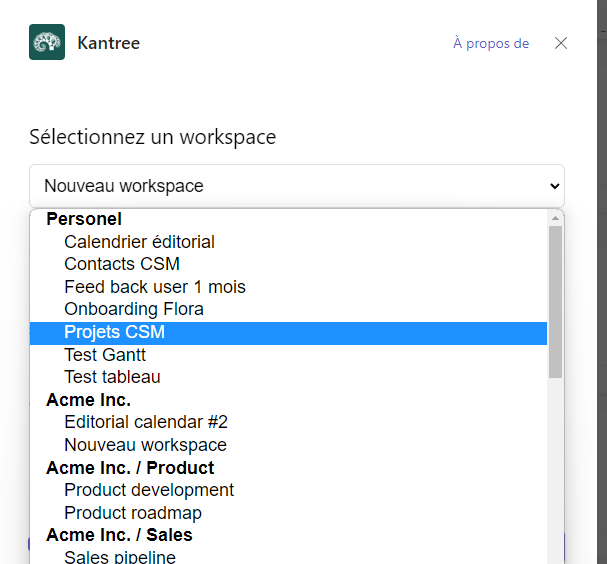
- Choose between adding a workspace or a view. To access the available views, first select the workspace it is in
- Decide to notify the team by checking “Post in channel on this tab”
- Click “Save”
Slack
Connect Slack with Kantree: Command Kantree from you Slack channel and be notified of any changes in your Kantree projects directly in Slack
Setup project integration with Slack
Follow the [step-by-step guide](/help/guides/integrations#setup-project-integrations-with-3rd-party-services) to enable the Slack integration.
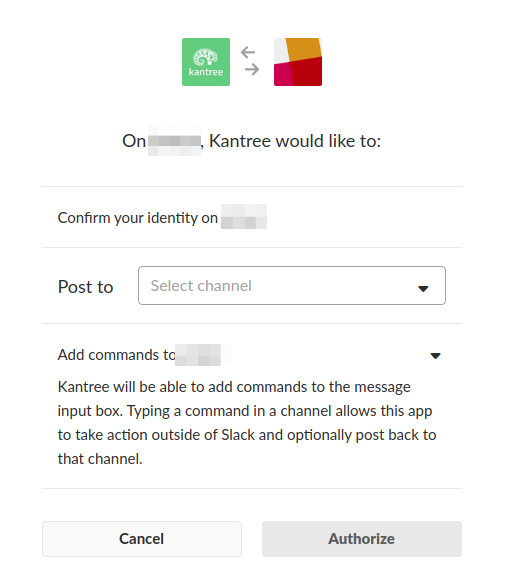
Specify a Slack channel you want to associate with your Kantree project.
Once you’re done, in your slack channel you can do the following commands :
/kantree create Title of your new card: This will create a card in your project.
/kantree comment #card_ref Comment in your card: You will be able to comment your card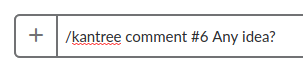
/kantree search query: Use [our powerful KQL query language](/help/guides/kql) to search for cards through your project
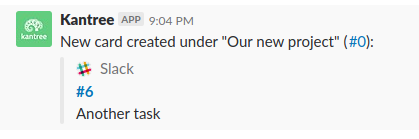
On the other hand, some actions in Kantree will be notified in Slack.
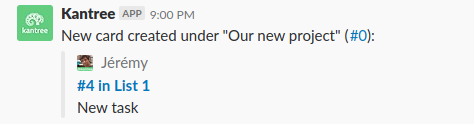
Here is a list of the actions that trigger an activity in your Slack channel:
- Create cards
- Move Cards
- Change card state (like mark it as done)
- Post comments on cards
Github
Connect Kantree projects with your Github repositories, and track your issues easily with our 2-way synchronization.
Login with Github
Follow the [step-by-step guide](/help/guides/integrations#setup-3rd-party-login) to login with Github.
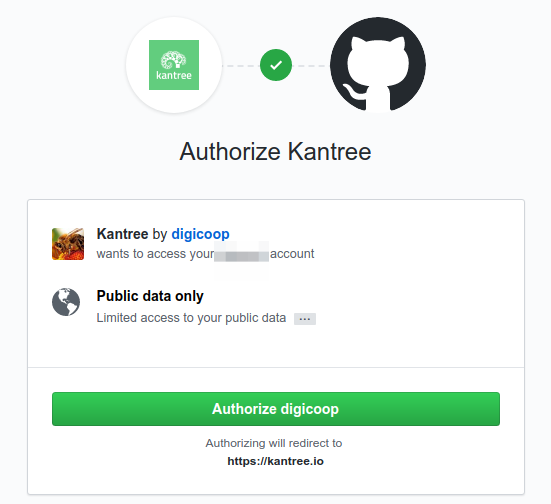
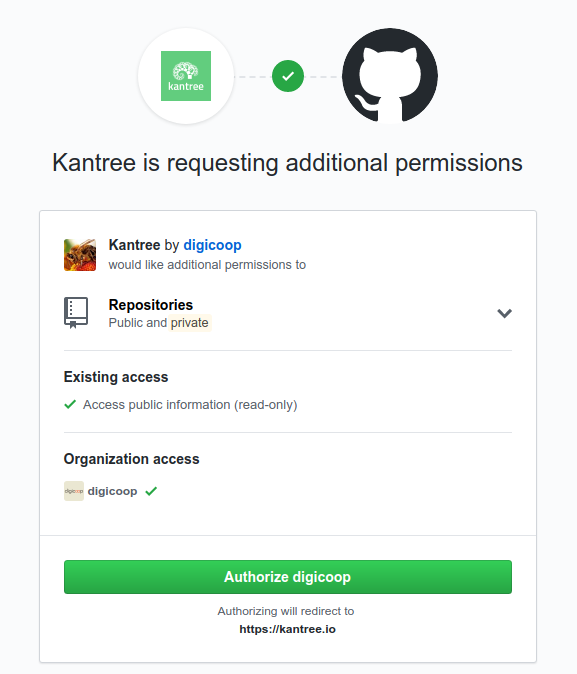
In the consent page, authorize Kantree by Digicoop OAuth App in Github by clicking Authorize Digicoop. Digicoop is the company behind Kantree.
Setup project integration with Github
You can enable a 2-way synchronization with Github in your projects.
Follow the [step-by-step guide](/help/guides/integrations#setup-project-integrations-with-3rd-party-services) to enable the Github integration.
Here is the Github integration form:
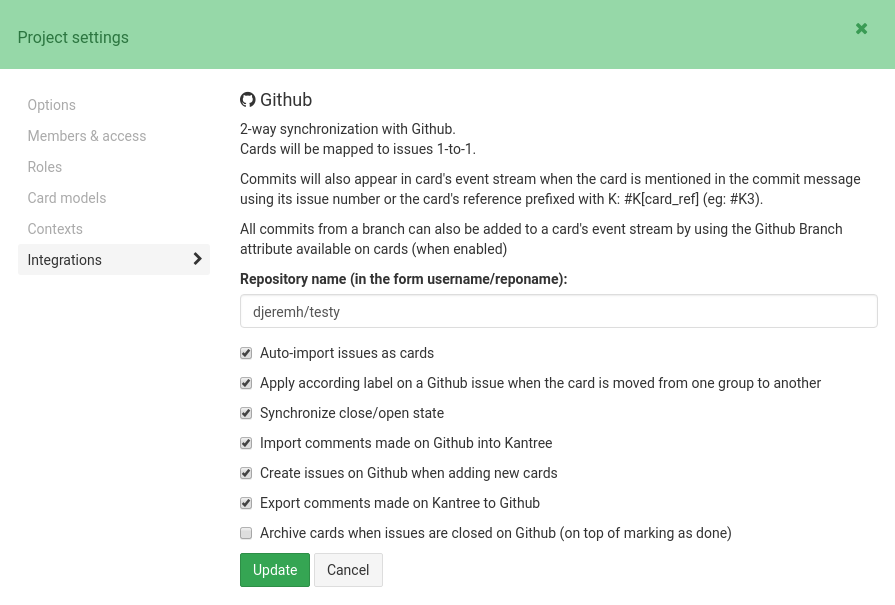
Fill the public or private Github repository name you want to connect to. The options are pretty straightforward.
If you want your commit to appear in both your Github issue and your Kantree card (synced with this issue), you should mention the 2 references in the commit title like “Update Readme.md #K7 #3”
Import Github repositories
You can import any public or private repositories from Github to Kantree.
Follow the [step-by-step guide](/help/guides/integrations#import-project-from-3rd-party-services) to import Github repositories.
Kantree will import all your issues and pull requests. It will activate the [2-way Github integration](/help/guides/integrations#setup-project-integration-with-github) automatically.
Gitlab
Setup project integration with Gitlab
Follow the [step-by-step guide](/help/guides/integrations#setup-project-integrations-with-3rd-party-services) to enable the Gitlab integration.
Here is the Gitlab integration form:
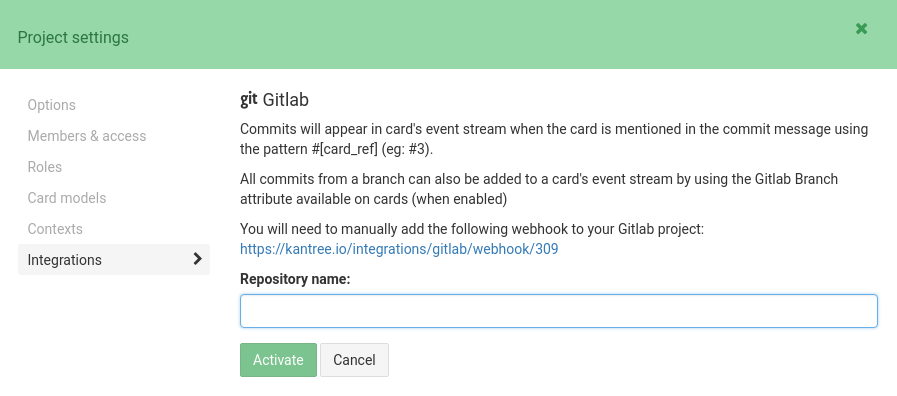
Fill the public or private Gitlab repository name you want to connect to.
Dropbox
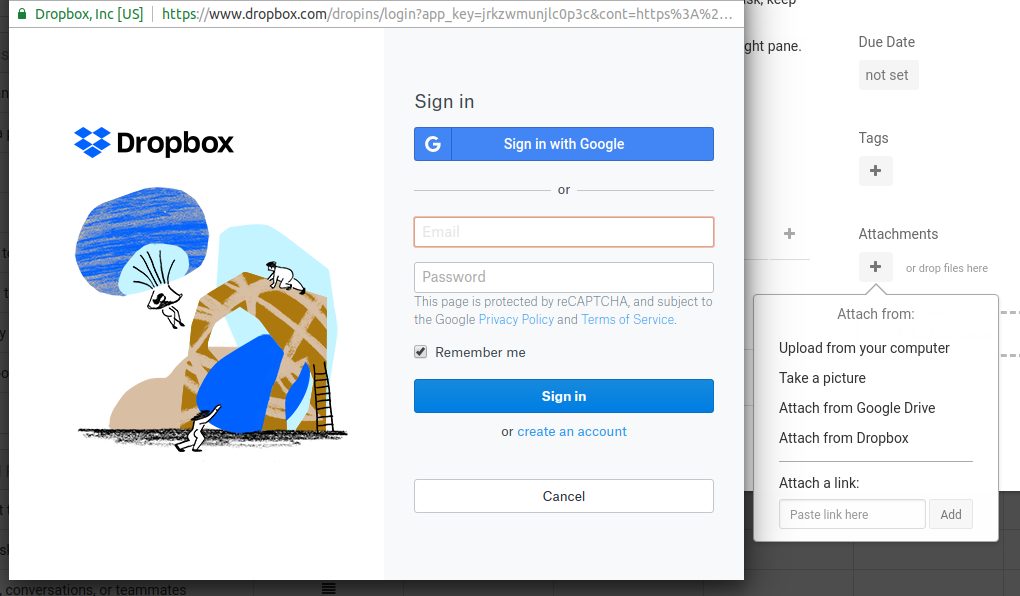
You can attach any dropbox files to your cards
When you click on attach from Dropbox a popup will ask you to connect to dropbox and authorize Kantree.
Trello
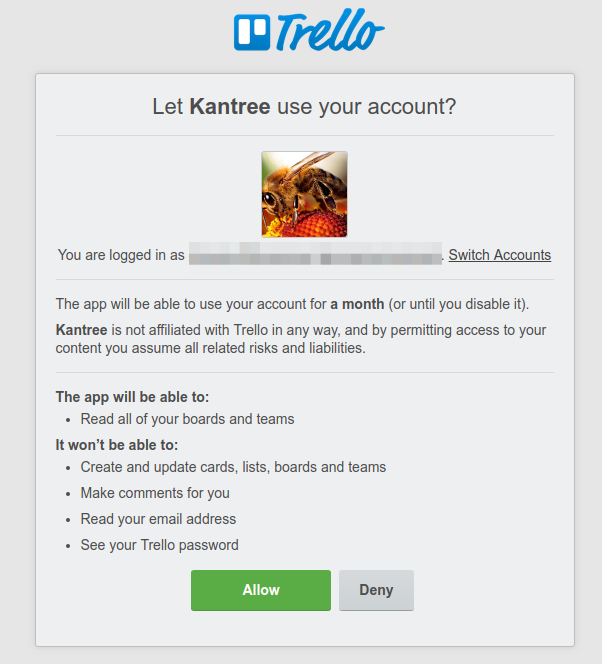
Import Trello projects
You can import any projects from your Trello account to Kantree.
Follow the [step-by-step guide](/help/guides/integrations#import-project-from-3rd-party-services) to import Trello boards.
Kantree will import your cards and columns. In your cards, it will import the description, assignees, attached files, due date, labels with their color, custom fields, checklists and comments.
Asana
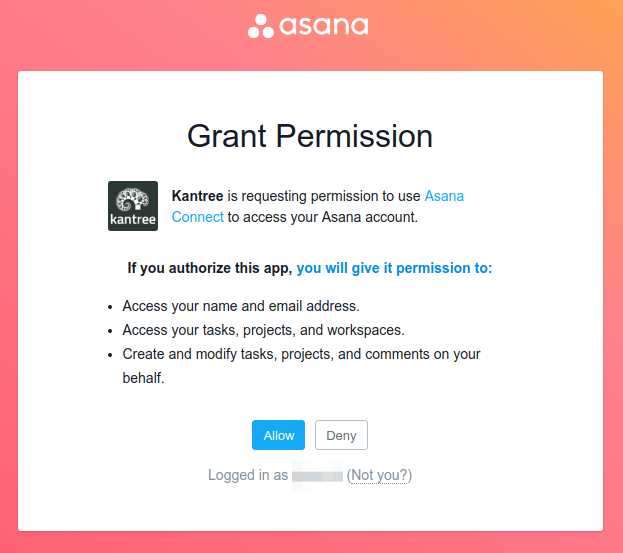
Import Asana projects
You can import any projects from your Asana account to Kantree.
Follow the [step-by-step guide](/help/guides/integrations#import-project-from-3rd-party-services) to import Asana projects.
Kantree will import your tasks and sections. In your tasks, it will import the tags, notes, due date, state (completed or not), subcards and stories (as comments).
Jira
Import Jira projects
Vous pouvez importer n’importe quels projets à partir de votre compte Jira dans Kantree.
You can import any projects from your Asana account to Kantree.
Toggl
Kantree is integrated with Toggl thanks to the hard work and contribution of Vlad (a big shout-out to him).
You just need to install the Toggl extension on your Chrome or Firefox browser, and then you will be able to start Toggl timer inside your Kantree cards.
The timer will take the card’s name and reference as description. it will also get the project name and labels from the card.
It works with both cards and sub-cards.

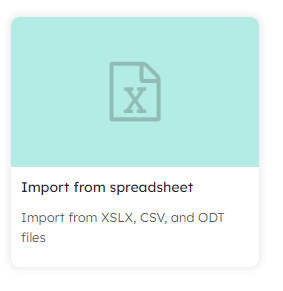
Spreadsheet import
You can import your data from a spreadsheet when creating your workspace or after.
-
While creating your workspace, choose “Import from a spreadsheet”
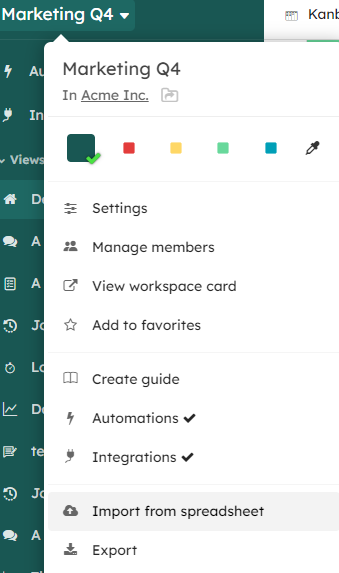
- When you want to import data after, go to the Workspace Menu then “Import from a spreadsheet”.
In both cases, the following steps should be followed:
- Select the file to import
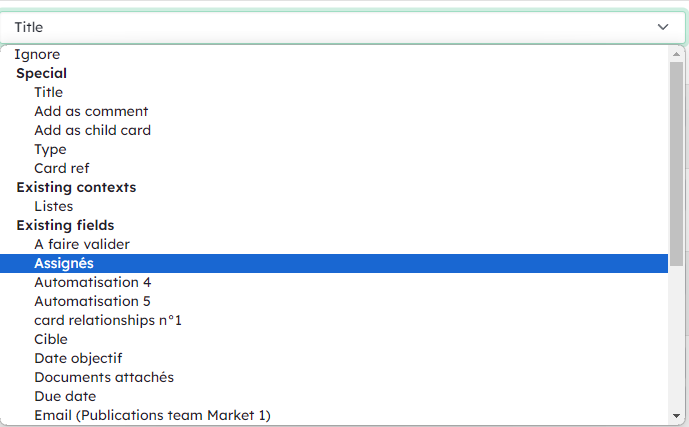
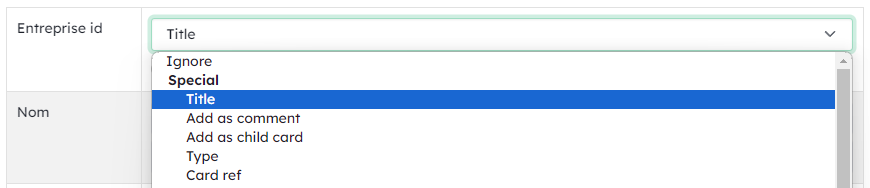
- Associate your file data with workspace columns :
-
Choose the value that will be the identification key for existing card updates “Use this field to associate with an existing card during import”
- create new fields :
-
associate a value to “new field” to create a new field
- Use special actions to :
- set title or reference
- add comment
-
create a subcard, create a card type
-
Delete cards : When creating and/or updating your data, you can delete cards.
For this, provide in your file a column “Card deletion” and add in the cell of the line corresponding to the card to be deleted “yes” or “oui”. The deletion action is performed only if one of these two values is present. If the cell is empty: no action.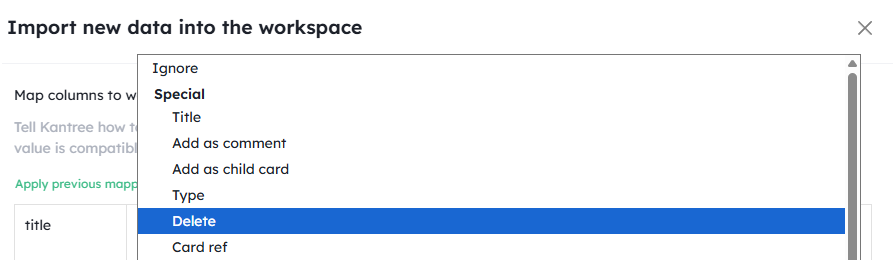
- Relationship field (see Relationship guide) is available, so you can create
a relation between cards.
To do so, you must associate the card relationship field with the card id to associate. (Id available via export)