
Manage card logs
Track time and expenses using card logs
Logs record dated information on a card, with fields of your choice. The most common use is time tracking: each person logs the hours spent on a card. You can also log expenses, visits, calls…
Logs are grouped in categories (log types). Each category has its own fields: for example, the Time category has Hours and Description fields.
Add a log category
- Open a card, then go to the Logs tab, at the bottom of the fields.
- Click Log something.
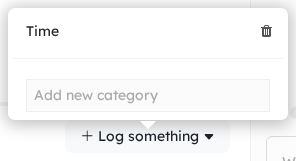
- In Add new category, enter the name of the category, then press Enter.
- Add the fields of the category, as you add fields to a card: for example a Number field for an amount and a Text field for a comment.
Change a log category
Rename or move the fields of a category as you do for the fields of a card. To delete a category, click the trash icon next to it in the Log something menu.
Add a log
- In the Logs tab of the card, click Log something, then choose the category.
- Fill the fields. By default, the log is dated now: click the date to change it.
- Click Save.
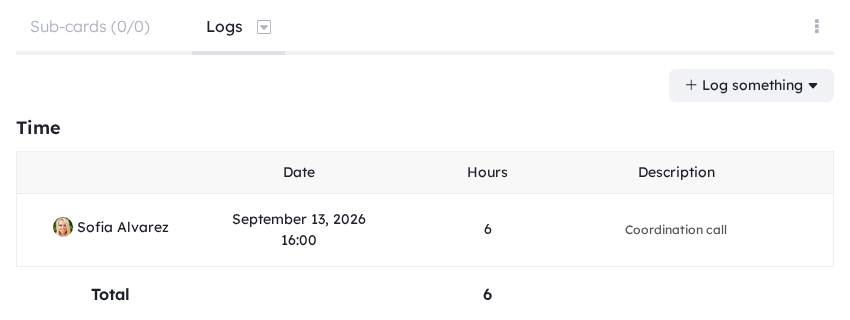
The logs of the card appear in a table, with their total. To delete a log, use the trash icon of its row. You can only delete your own logs, unless your role allows you to moderate logs.
Automations can also start when a log is added, and dashboards can show charts of the logs. See Automations and Dashboards.
Logs view
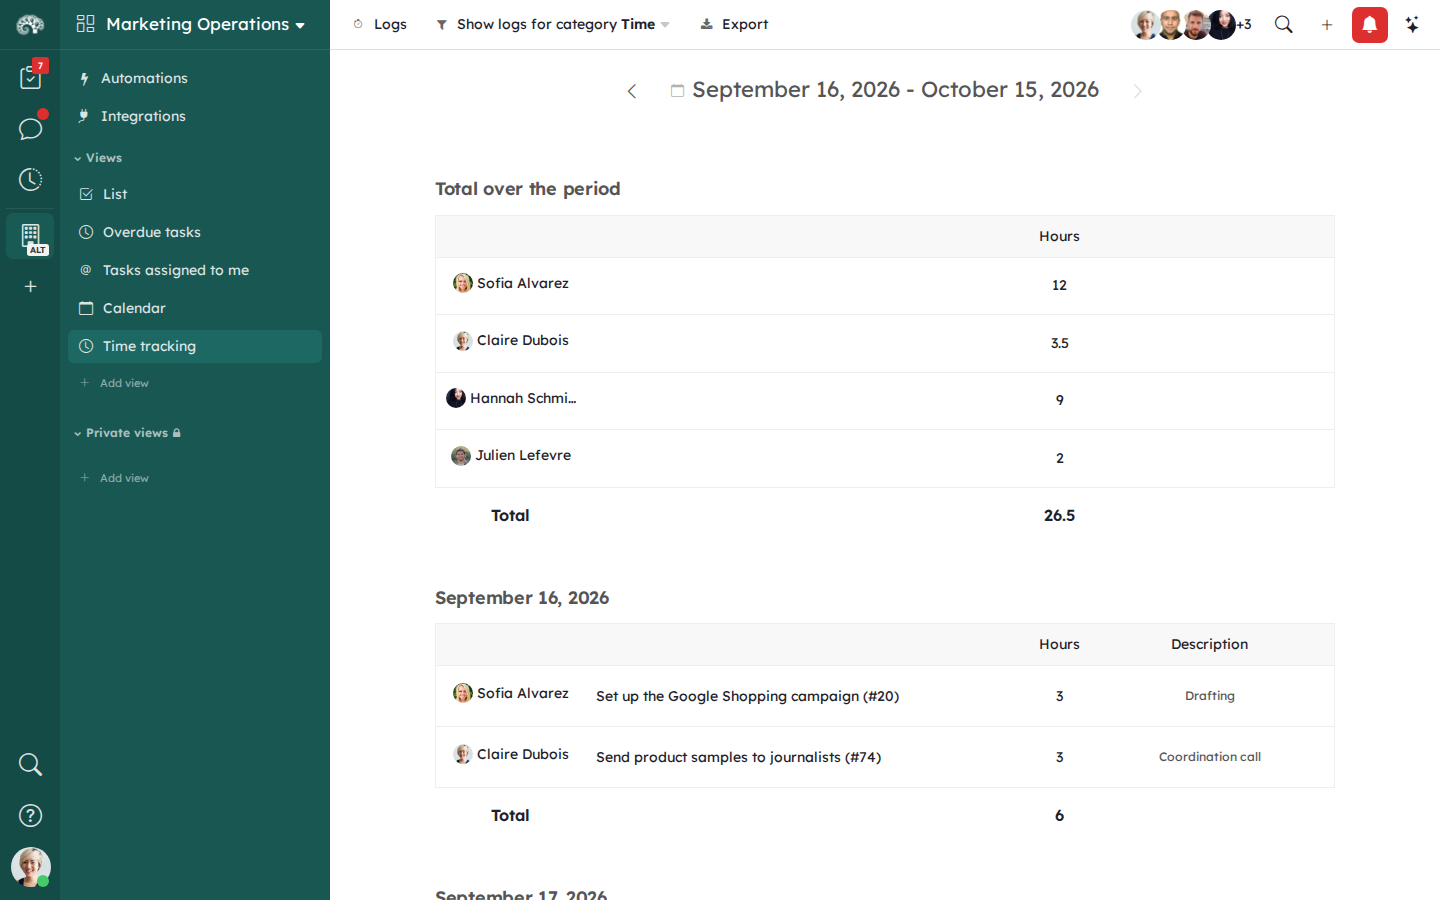
The Logs view shows all the logs of the workspace for a period: for example the hours of each person this month.
- Click Add view, then Logs.
- Choose the category in Show logs for category, and the period with the arrows or the dates at the top.
The view shows the total for each person over the period, then the logs of each day.
To export the logs, click Export, then Export to CSV.